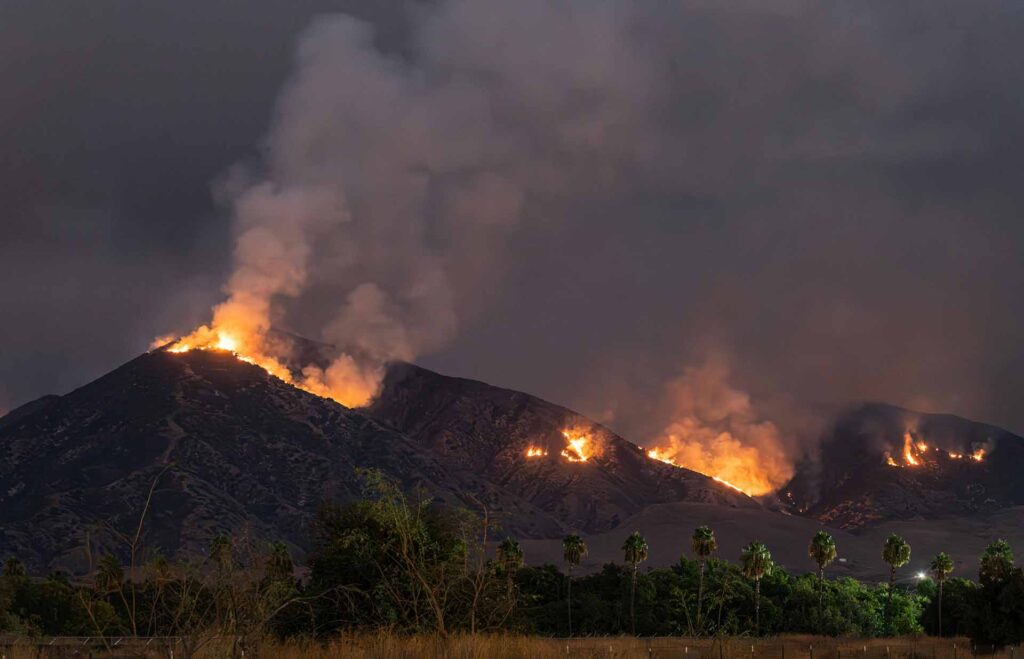
Wildfires in California are no longer rare, seasonal events—they’re yearly threats that are escalating in frequency, intensity, and destructiveness. The recent Camp Fire and Caldor Fire are stark reminders of how entire neighborhoods can be reduced to ash in a matter of hours. What many homeowners may not realize is that up to 90% of homes lost in wildfires ignite not from direct flames, but from windblown embers, making the threat even more immediate.
Those embers can travel miles ahead of a fire front, finding their way into vents, gutters, and roof edges. Once inside, they ignite materials like attic insulation, leaf litter, or deck furniture. The result? A home lost in minutes.
At FireStorm, we are committed to making wildfire protection affordable, accessible, and most importantly, effective. Our products are not just designed for DIY installation; they are also rigorously tested to ensure they meet the highest safety and compliance standards. Whether you’re a homeowner, contractor, or retailer, our goal remains the same: to protect lives, property, and communities with our reliable solutions.
The following five weekend projects are proven ways to harden your home against embers. Each uses WUI-compliant materials, straightforward installation, and homeowner-friendly steps. When done correctly, these upgrades can significantly reduce your home’s ignition risk. With our clear instructions and your determination, you can complete these projects with confidence, knowing that you have the skills and resources to protect your home.
1. Install Ember-Resistant Vents
Why it matters: Attic and crawlspace vents are often the first place embers enter. Standard screens and slats leave openings large enough for burning embers to pass through. Once inside, embers can smolder unnoticed until it’s too late.
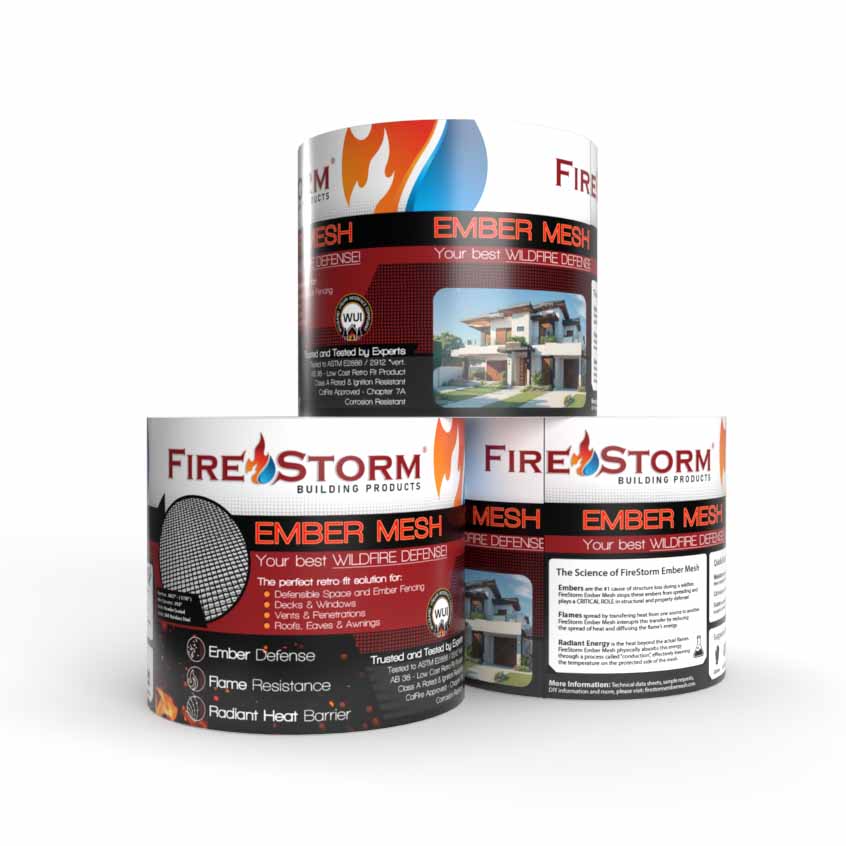
The solution: Replace vents with EmberVent™ or retrofit with 1/16-inch metal EmberMesh™. These barriers are designed to block ember intrusion while maintaining airflow.
Installation basics:
- Remove existing vent covers.
- Measure and cut ember-resistant mesh.
- Secure tightly with screws or staples to prevent gaps.
Safety note: Never use plastic mesh because it can melt and fail under fire conditions. Always choose fire-rated metal options.
2. Clean and Guard Your Gutters
Why it matters: During wildfires, gutters filled with leaves, pine needles, and other debris act like kindling. Embers that land here can ignite, quickly spreading flames to your roof and siding.
The solution: Regularly clean gutters and install fire-rated gutter guards to block debris buildup. Guards not only reduce maintenance but also add an essential layer of ember defense.
Installation basics:
- Clear gutters of all dry debris.
- Rinse thoroughly with a hose or blower.
- Install metal gutter guards—never vinyl or plastic alternatives.
Pro tip: Combine gutter guards with regular seasonal cleaning to ensure the system performs during peak fire season.
3. Screen Under Decks and Crawlspaces
Why it matters: Decks and crawlspaces often trap combustible debris like leaves and yard waste. Embers can easily ignite these piles, leading flames directly to your home’s structure.
The solution: Install ember-resistant mesh skirting to close off open areas under decks and raised homes. This prevents embers and debris from accumulating where they can do the most damage.
Installation basics:
- Measure openings around decks or crawlspaces.
- Cut metal mesh to fit tightly.
- Fasten securely to prevent gaps or sagging.
Code reference: California’s Chapter 7A building standards recommend noncombustible barriers for all under-deck areas in wildfire-prone regions.
4. Create a 5-Foot Non-Combustible Zone
Why it matters: Research from Cal Fire shows that the first five feet around your home—known as the “immediate zone”—is the most critical for preventing ignition. Embers landing here can ignite mulch, shrubs, and even wood siding.
The solution: Replace flammable materials with non-combustible or fire-resistant options. This buffer zone serves as the first line of defense in your home ignition zone.
Installation basics:
- Remove mulch, dry grass, and fire-prone vegetation.
- Replace with gravel, pavers, or concrete.
- Store firewood, propane tanks, and patio furniture away from siding.
Pro tip: Choose fire-resistant plants like succulents or stonecrop varieties if you want greenery in this zone.
5. Upgrade or Seal Roof Edges and Eaves
Why it matters: Roof edges and eaves are prime targets for ember accumulation. Gaps in these areas provide a direct pathway for embers to reach flammable roof decking or insulation.
The solution: Apply fire-rated sealants or install noncombustible flashing to close off vulnerable gaps. Painting exposed wood with fire-resistant coatings provides an added layer of defense.
Installation basics:
- Inspect roof edges and eaves for cracks or openings.
- Apply sealant or flashing where gaps are present.
- Consider upgrading to noncombustible fascia boards for long-term resilience.
Tools You’ll Need
Most homeowners already own many of the tools required for these projects. At minimum, plan to have:
- Ladder
- Tin snips
- Staple gun or drill with screws
- Gloves and safety goggles
- Tape measure
- Leaf blower or rake
Each project is manageable in a weekend with basic preparation and safety practices.
DIY Cost Breakdown
| Project | Estimated Cost |
| EmberVent™ | $8.40 – $26.40 each |
| Firestorm Gutter Guards | $15.80 for each 4 foot section |
| EmberMesh™ | Starting at $210 per 50 foot roll |
By contrast, post-fire retrofitting or reconstruction can cost tens of thousands of dollars, and the loss of irreplaceable belongings cannot be measured. A few hundred dollars and a weekend of work can make the difference between a home that survives and one that doesn’t.
Protect Your Home the Right Way
DIY wildfire protection isn’t about quick fixes. It’s about making upgrades that meet fire safety standards and provide reliable protection year after year. At Firestorm, we’ve designed our ember-resistant vents, gutter guards, and mesh products to meet California’s WUI requirements, ensuring you get solutions that truly work. With our products, you can feel secure and protected in the face of wildfire threats, knowing that you have the best tools at your disposal.
Next steps:
- Explore our full range of ember protection products.
- Use our store locator to find products near you.
- Learn more about fire readiness at Ready for Wildfire, Wildfire Los Angeles and California Fire Safe Council.
Protecting your home from wildfire is possible. With the right materials, the right steps, and the right partners, you can defend your property and your peace of mind.
