FireStorm® EmberMesh™
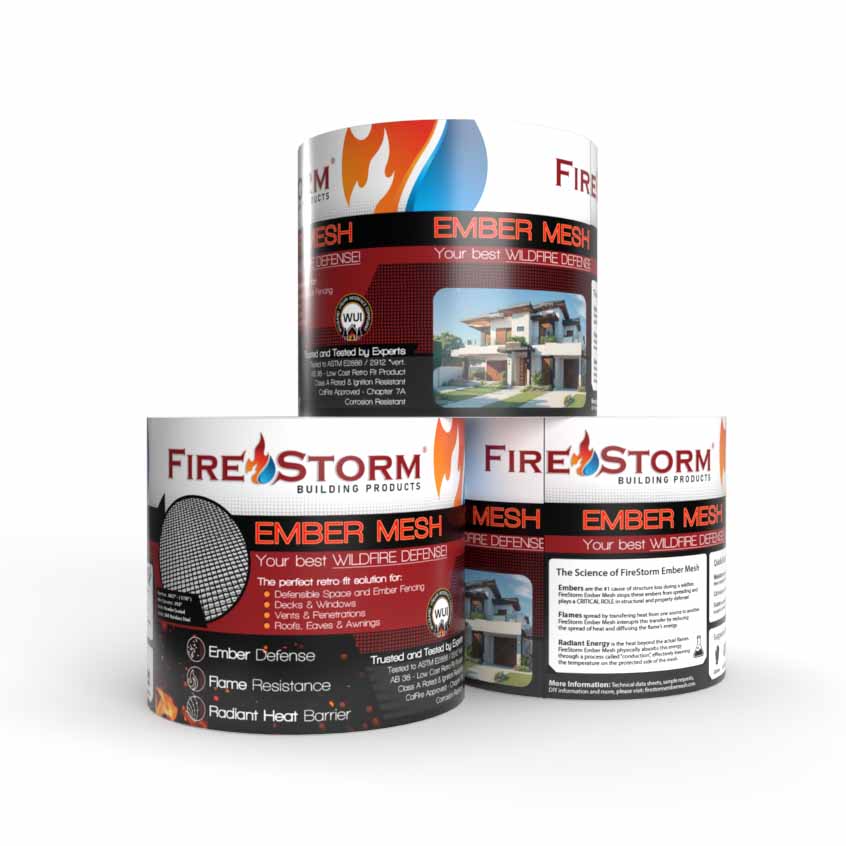
FireStorm® EmberMesh™ protects buildings & infrastructure against ember attacks and radiant heat. Ember attacks account for up to 90% of buildings lost during a wildfire. FireStorm® EmberMesh™ stops embers from entering gaps and reflects radiant heat caused by fires. Also available in vents for wildfire defense.
Mesh Sizes Available
50′ x 7.5″
50′ x 24″
50′ x 36″
50′ x 48″
50′ x 60″
Mesh Applications
Specifications, Certification, and Testing Standards
FireStorm® EmberVents™ and EmberMesh™ are rigorously tested and certified to meet the highest standards for fire resistance and safety. These products have been evaluated to ASTM E2886, ASTM E84, and ASTM E2768 testing standards, ensuring their durability and effectiveness in wildfire defense. Additionally, our vents are compliant with IBHS’s “Wildfire Prepared Home” program and approved for use under California’s Chapter 7A building code in most orientations, as well as other state IWUI requirements. With FireStorm®, you can trust that your home is protected by solutions that exceed industry standards for performance and reliability.
* While FireStorm® Ember Vents and Ember Mesh are approved for vertical installations under California’s Chapter 7A building code, certain horizontal applications may require materials beyond mesh-only solutions. Please consult your local building codes and regulations to ensure compliance with all installation requirements.
* Be advised, we do not recommend a mesh only product when extreme heat and flame defense is desired.
Check out the FireStorm® EmberMesh™ product specs and download the Spec Sheet to find everything you need to know.
FireStorm® Ember Vent Specs
Standard Test Method for Extended Duration Surface Burning Characteristics of Building Materials [QAI Listing: B1155]
Evaluating the Ability of Exterior Vents to Resist the Entry of Embers and Direct Flames Impingement [QAI Listing: B1155]
Fire Test on Non-Mechanical Dampers Used in Vented Construction [QAI Listing: B1155] *Not recommended for flame defense
FireStorm® EmberMesh™ and EmberVents™ meet the requirements of the California Building Code, Chapter 7A – 706A2 when installed in a vertical orientation.*
FireStorm® EmberMesh™ and EmberVents™ meet the requirements of the California Building Code, Chapter 7A – 706A2.1
Ignition Resistant Building Material
Minimum standards for the location, design, and construction of buildings and structures based on fire hazard severity in the wildland-urban interface.
FireStorm® EmberMesh™ and EmberVents™ meets or exceeds the following 2024 IWUIC.
FireStorm™ Ember Vents I-WUI
504.10.2 Prescriptive
505.10.2 Prescriptive
Quality Materials
FireStorm® EmberMesh™ is made out of 304 Stainless Steel making it the best choice for those who want a durable material.
Built to Resist Wildfires
Firestorm® EmberMesh™ is designed for defense! It is resistant to flames, embers, and corrosion, and is able to withstand exposure to the elements without degrading or breaking down.
98% Ember Blockage
Firestorm® EmberMesh™ is designed with a small aperture to keep embers out, including debris.
The small aperture size prevents embers from passing through the mesh, which is a major concern for those who live in W.U.I areas.
EmberMesh™ Installation
FireStorm® EmberMesh™ is extremely versatile. It may be used to protect nearly every opening on a home that could allow for ember penetration, including skirting for decks and ember fencing around your property.
Ember Fencing and Decking
Measure the Perimeter
Measure your perimeter ensuring that you have a proper mounting surface along the entire span of the area to be protected, ensuring that your fastener spacing is no greater than 6”- 8”. It’s recommended to leave a 2” tail on each edge of your Ember Mesh run to ensure ample material to fasten to your framing and supports.
Securing the Bottom Edge
If no mounting surface is present along your span, we recommend digging a small trench approx. 6” deep along the span to be protected. Bend 2” of the bottom edge of our Ember Mesh at 90 degrees. This edge should be facing towards you during the installation. Burry the edge along the span and firmly pack in the dug up material.
Verticals
Our Ember Mesh should be fastened along each upright along your span, as well as along the top edge, ensuring that your fastener spacing does not exceed 6” 8”.
Securing the Top Edge
For decks and framed fencing, fasten this edge with fasteners every 6” – 8”. If no vertical mounting is available, you may follow the same premise as the “bottom edge” and bend 2” of your top edge at 90 degrees facing toward you during installation. Fasten this 90 edge to the underside of your horizontal supports that run along your span.

Retro-fitting Vents
Installing from the front
Measure the existing opening of your vent. Cut our Ember Mesh 2” wider and 2” taller than your existing ventilation opening. This ensures that there is ample room to fasten our mesh to your siding leaving no gaps.
Installing from the back
If you have access to the back side of your existing vent, you can follow the same steps as above, provided that you have a consistent mounting surface on the back side of your existing vent, such as its framing.
Vulnerable Areas to Use EmberMesh™
Let’s Build a Safer Future!
Give us a call or submit your information via the form and a team member will get back to you.